Site Preparation: Ready, Set, Excavate!
<< Fiberglass Pool Shell Installation Overview |
<< Preparation |
Excavation >>
New to the process? Walk the whole journey in How a Fiberglass Pool Shell Is Installed.
Before the exciting moment of lowering your new fiberglass pool shell into the ground arrives, a crucial phase of preparation must be meticulously completed. This phase, known as site preparation, involves several steps to ensure the ground is ready to welcome your pool. This guide covers what proper site preparation looks like so you and your contractor can approach the project with a clear understanding of what’s involved. Calmwater Pools helps homeowners in Maryland, Washington DC, Northern Virginia, and nearby West Virginia select the right fiberglass pool model, coordinates procurement of the shell, and coordinates delivery to the project site. Installation is performed by qualified independent contractors hired directly by the homeowner.
If you’re still researching which shell is right for your project, browse our current Fiberglass Pool Shells to confirm dimensions before your contractor marks out the yard.
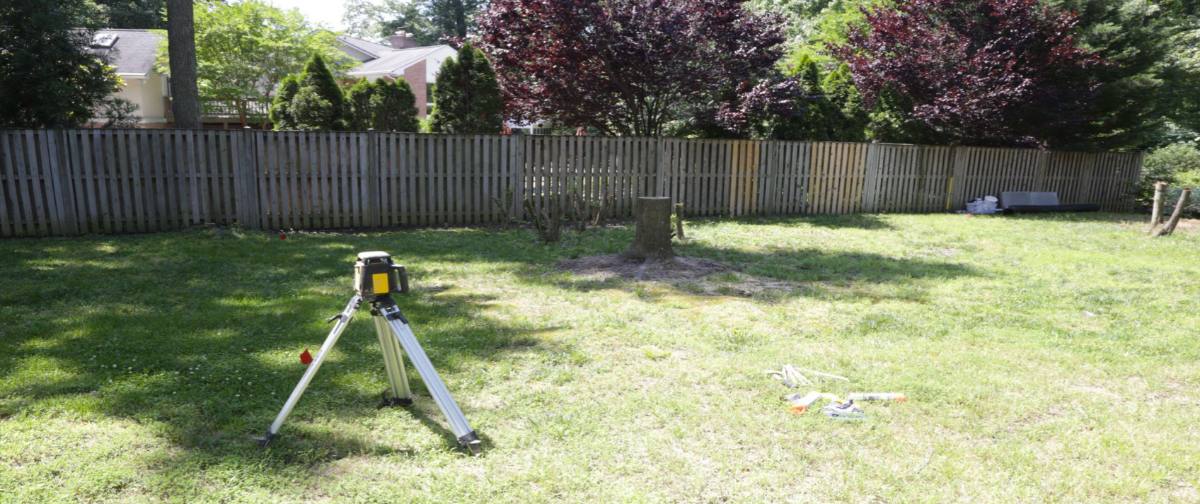
Assessing and Clearing the Site
The first step in fiberglass pool site preparation is to clear the area of any obstacles that might hinder the installation process. This includes removing trees, stumps, rocks, and debris. If trees are present, it’s advisable to have a tree vendor leave stumps at a manageable height for easier removal by the excavating contractor. Ensuring the site is clear and accessible will simplify the subsequent steps.
Leveling the Ground for Pool Installation
A level foundation is critical for the longevity and safety of your fiberglass pool. Leveling the ground involves grading the site to ensure it is flat and even. This step typically requires machinery — such as a rubber track loader with a 68″ bucket — to move soil and debris efficiently. A level site helps prevent future issues such as uneven water distribution or structural stress on the pool shell. Your contractor will manage this process as part of the overall installation scope.
Setting Corner Stakes and Marking the Area
With a clear and level site, the next step is to precisely define where the pool will be located. Setting corner stakes involves placing stakes at the corners of the future pool area based on the dimensions of your pool shell. After the corners are marked, string lines are run between them to outline the pool’s perimeter clearly.
Marking the pool area for excavation is crucial for guiding the excavation process. Spray paint is used to mark the ground along the string lines, including additional markings for the excavator, as per the dig sheet provided with your pool shell. These marks serve as a visual guide to ensure the excavation matches the dimensions and shape of your pool shell accurately. Working with a unique footprint? Ask us about Custom Pool Shells — fiberglass pool shells are manufactured by Latham Pool Products.
Preparing for Excavation
Before digging begins, a final review of the marked area and measurements ensures that everything is set correctly. This is the last opportunity to make adjustments without the complications of a partially excavated site. Confirming the square for the pool shell and double-checking alignment with property lines and the house ensures that the pool is exactly where it should be. Your contractor will coordinate this review as part of the pre-excavation process.
Prefer a turnkey approach? Learn more about Full-Service Pool Installation.
Site preparation is a critical stage in the fiberglass pool installation process. By taking the time to assess, clear, level, and accurately mark the installation site, the groundwork is laid for a successful project. A well-prepared site not only facilitates a smoother installation but also contributes to the long-term success and enjoyment of your fiberglass pool. Planning for the off-season or pauses between build steps? Keep everything protected with Inground Pool Winter Safety Covers.